Build your workflow to trigger the calls from SalesAi Voice.
Follow these steps to create a basic workflow for your Agent!
- Click on the Automation tab on the left-hand menu
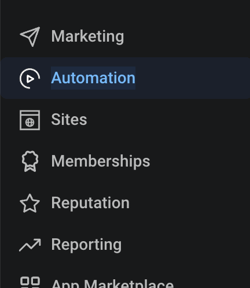
- There should be several pre-populated options! We are going to duplicate the "AI Call - Free Webhook" option.
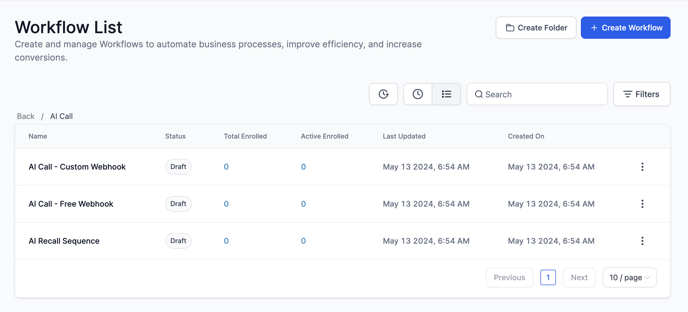
- Click the Triple Dots Icon next to the "Ai Call - Free Webhook" workflow, click Duplicate Workflow, and give it a name.
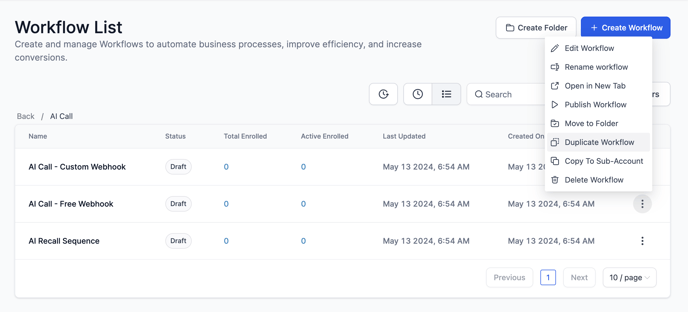
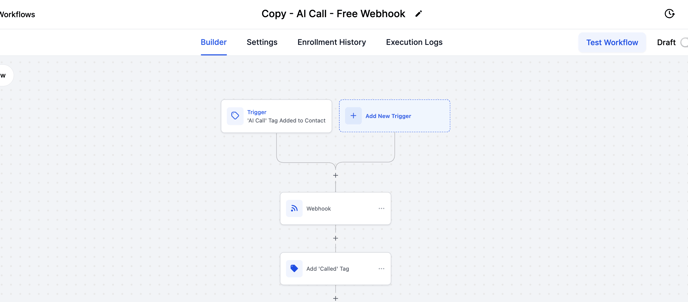
- Open that new workflow by clicking on the name. Here is what you will see:
Drip Step
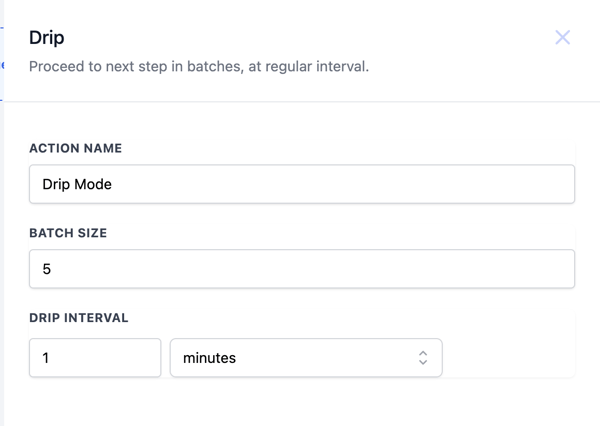
The Drip Step allows us to set the number of calls per minute the Agent will make.
- Click on the Plus Icon between the Trigger and Webhook Step
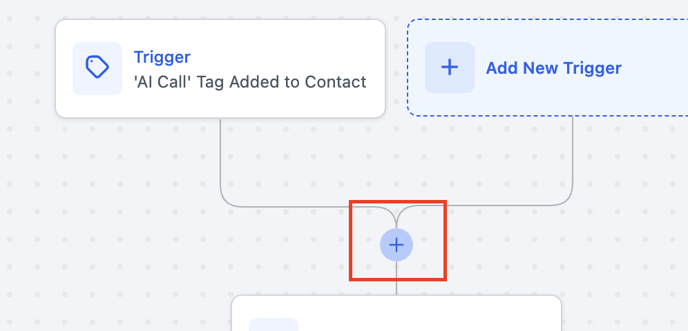
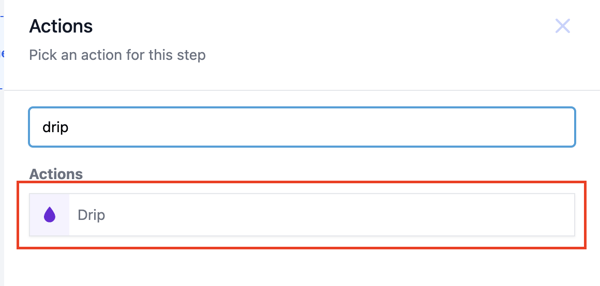
- Search for "Drip". Select the Drip action
- Adjust the settings for the Drip action. We recommend a batch size of 5 calls per minute.
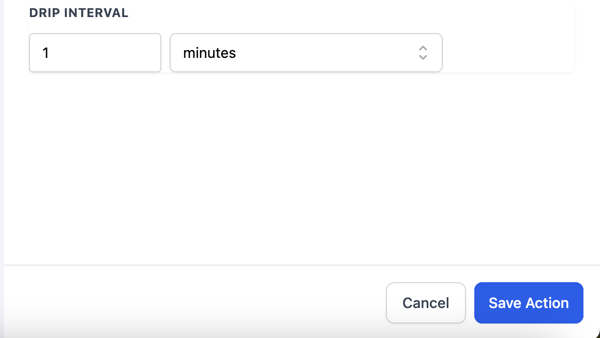
- Click Save Action at the bottom.
Webhook Step
- Click on the Webhook step to open the editing panel.
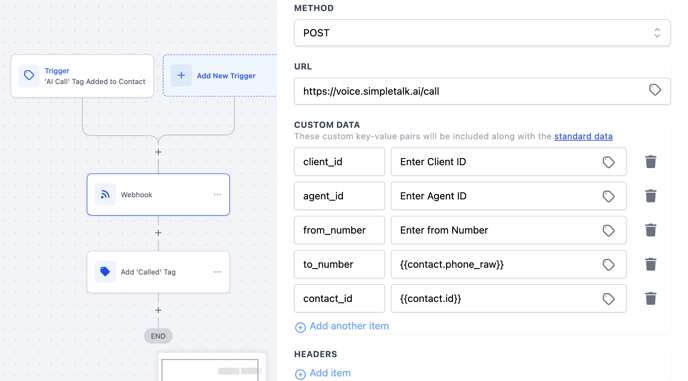
- You will need to enter these details from your SalesAi Voice Account
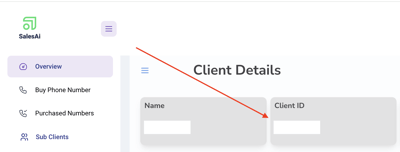
- Client_ID: This is your Client ID on SalesAi Voice
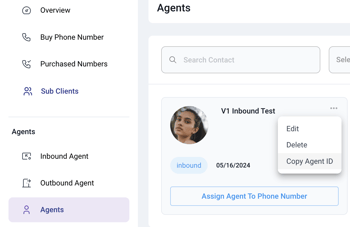
- Agent_ID: This would be from the Outbound Agent you created. Click the Triple Dots next to the desired Agent, and use the copy option:
- from_number: To use the number already assigned to your agent in SalesAi Voice, we recommend deleting this field to avoid it being overwritten.

- Client_ID: This is your Client ID on SalesAi Voice
Trigger and Actions
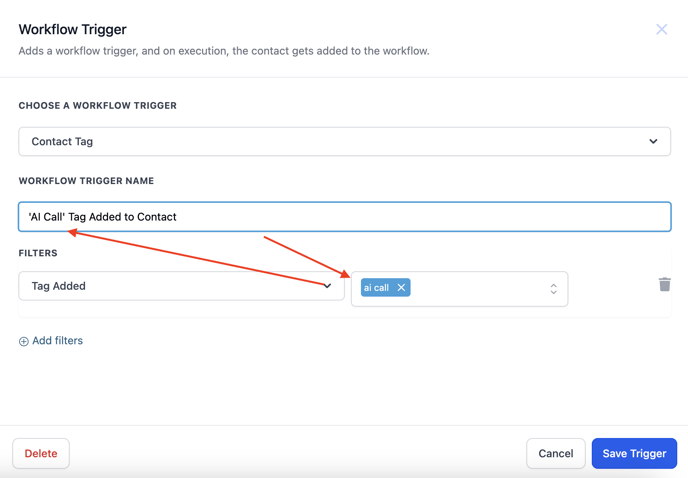
- Click the Trigger at the top-right of the Workflow
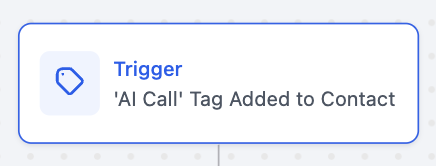
- For the Filter "Tag Added," replace the placeholder tag with your custom Call - "List Name" tag you created. Make sure to update the Trigger Name to match, then click Save Trigger.
If you didn't create a tag specific to your List, here are some guides to do so!
Creating a Tag in GoHighLevel
Creating Smart Lists on GoHighLevel
You may also need to change the Add 'Called' tag action if you have a specific 'Called' tag for each Smart List.
