SalesAi Voice has a direct integration with GoHighLevel, however, you may not use that CRM. This guide will direct you on how to send and receive information to and from SalesAi Voice through Zaps.
You will need a paid Zapier Subscription to integrate your CRM, as we have to utilize the Webhooks feature.
Sections
- Initiating Calls and Sending information from your CRM to SalesAi Voice
- Creating the Zap Trigger
- Creating the Zap Actions
- Receiving Post Call Information from SalesAi Voice to your CRM
- Creating the Zap Trigger
- Creating the Integrations Workflow and Testing
- Creating the Zap Action
Initiating Calls and Sending information from your CRM to SalesAi Voice
The first step in a to-and-from integration is to make sure we can launch calls and send contact information in a similar fashion to how we do it natively in GoHighLevel. This involves sending contacts over, and adding a tag in order to initiate GHL workflows.
Creating the Zap Trigger
- Go to Zapier and click Create

- Click on Zaps

- Click on Trigger

- Search for your specific CRM
There is a chance that your CRM has a different backend name in Zapier. If it does not pull up, consider reaching out to Support for your CRM/app and ask how they integrate with Zapier.
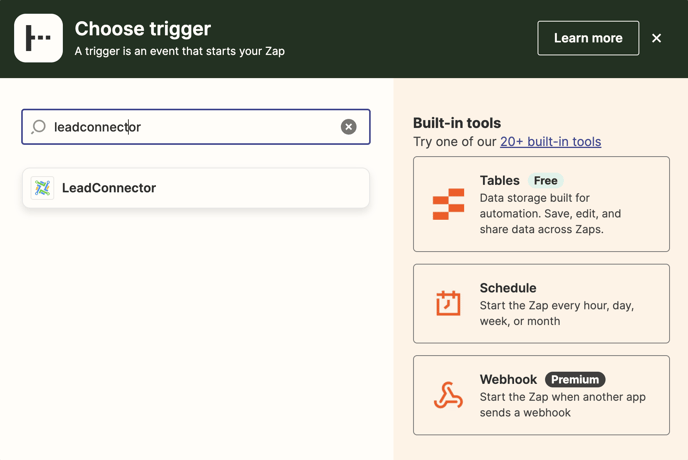
- Click on Choose an Event and select an Event
For this, we typically want an event like "When tag is added to Contact" or "New contact is in list."
- Click Continue

- Connect your account (This will usually be a sign-in, or it may ask for an API key from your CRM/app. If you're unsure where to locate this, reach out to the support for your app.)

- Setup the Trigger. This will typically be selecting the Tag you want to add or the List you want to add the contact to initiate the sequence. We recommend adding the Tag or list to your CRM and then selecting the Refresh button so you may select it in the drop down.

- Click Continue

- Click on Test

- Select the correct Record. If you don't see the record, you may click the Find new records button. Then select Continue with selected record

Creating the Zap Actions
- Search for LeadConnector (This is GoHighLevel's name on Zapier)
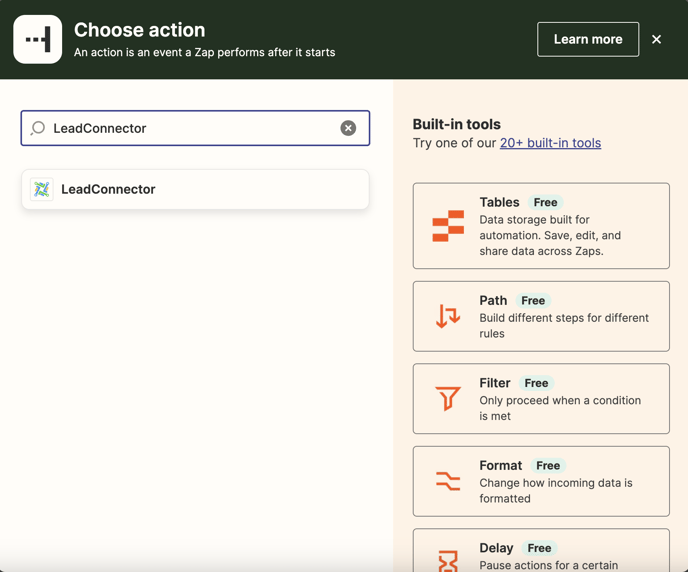
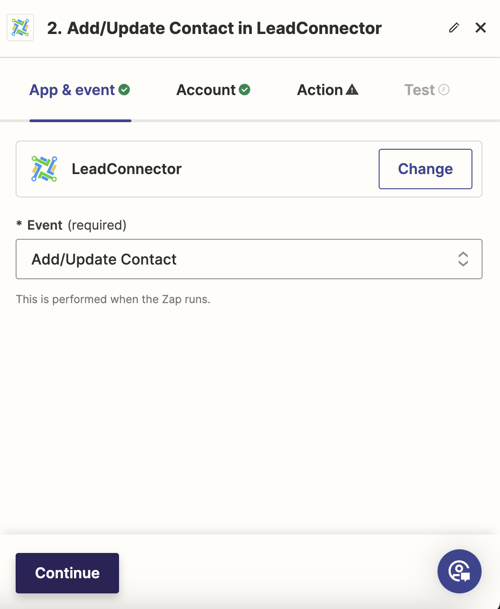
- Click on Event. We want to select Add/Update Contact
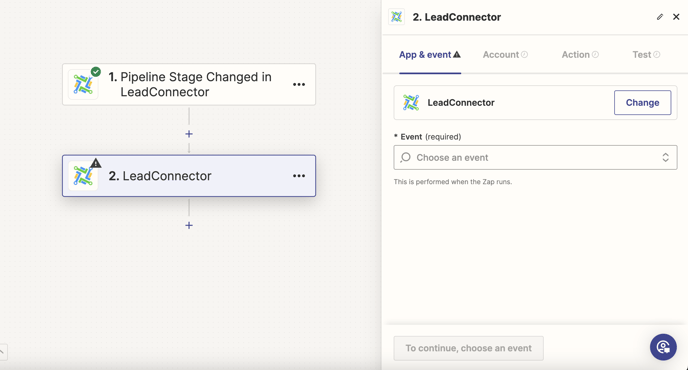
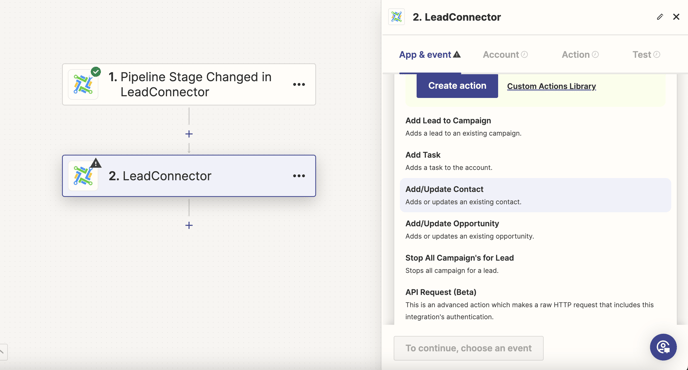
- Click on Continue
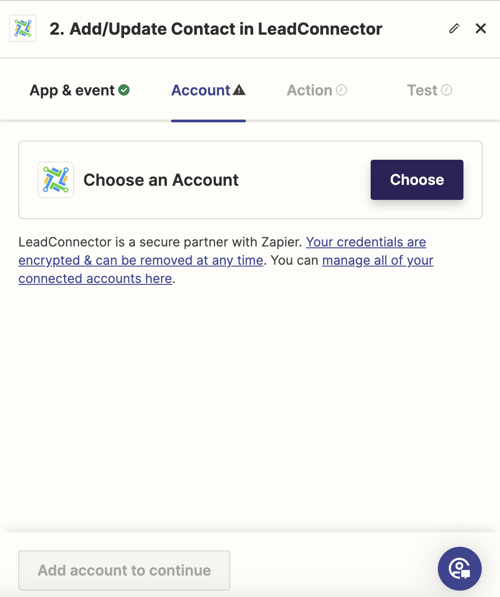
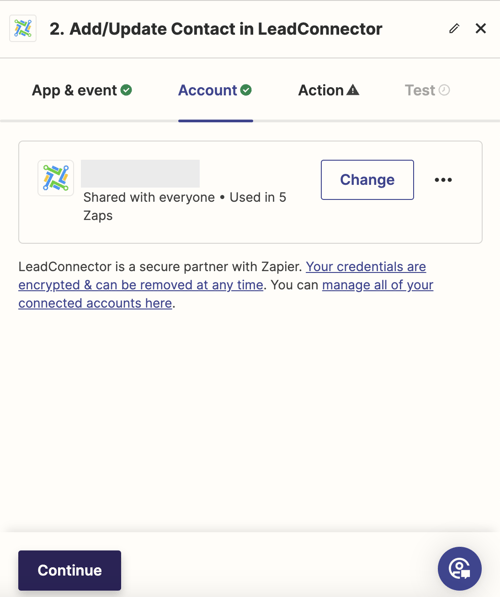
- Connect your account (This will usually be a sign-in, or it may ask for an API key from your CRM/app. If you're unsure where to locate this, reach out to the support for your app.)
- Click on Continue
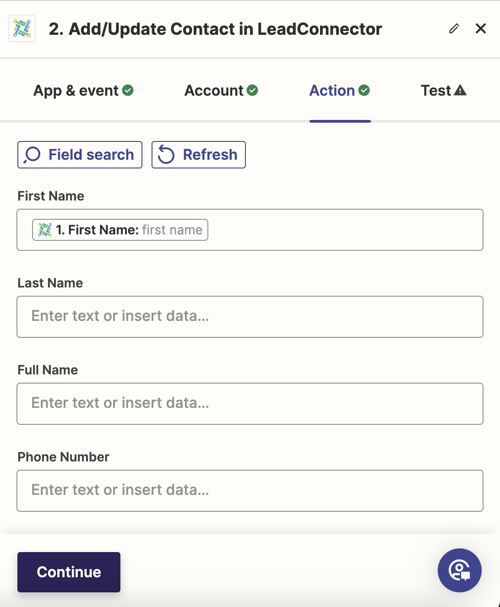
- Map out where you want the information and what specific data you want.
This section may vary depending on what app you use. For each section that you want data for, select the coordinating option for that field (e.g., "Job Title" -> "Position").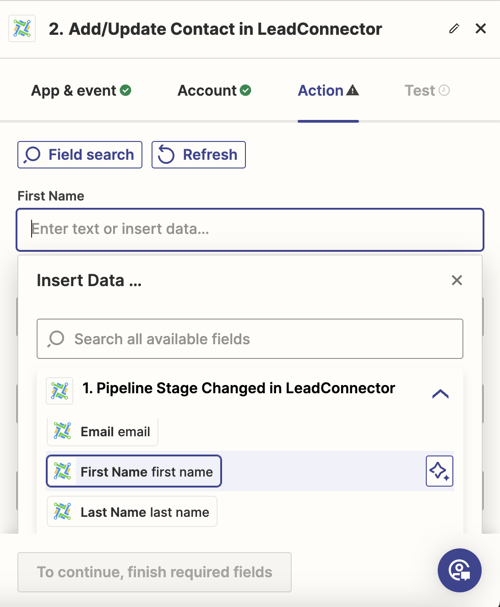
- Only the options populated in the drop-downs are available.
- Once everything is mapped out, click Continue
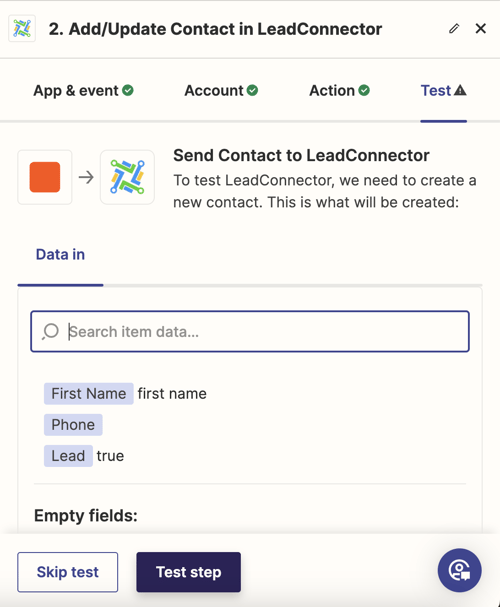
- Make sure to Test step to verify that information comes through seamlessly.
- We will now want an additional Add/Update action in order to add a Tag to the Contact in GHL.
Hover over the Plus sign to add an additional Action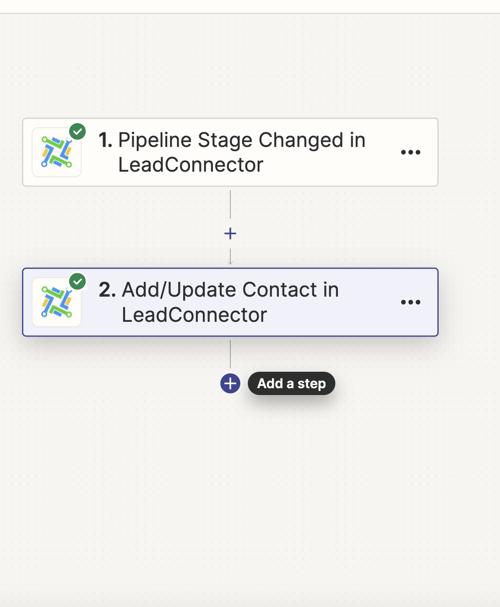
- This will be another GHL Action, so search for Lead Connector
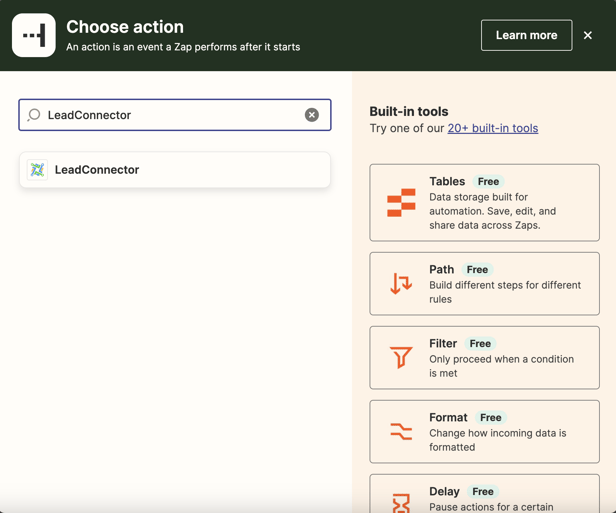
- Click on Event. We want to select Add/Update Contact


- Click on Continue

- Connect the same account as before

- Click on Continue

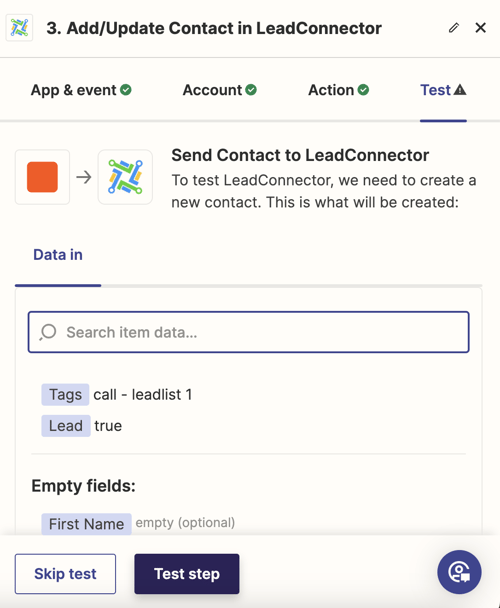
- Don't map ANY information besides a Tag. We are going to add a tag called Call - "Name of Lead list". This will trigger the new contacts to be put into the GHL workflow.
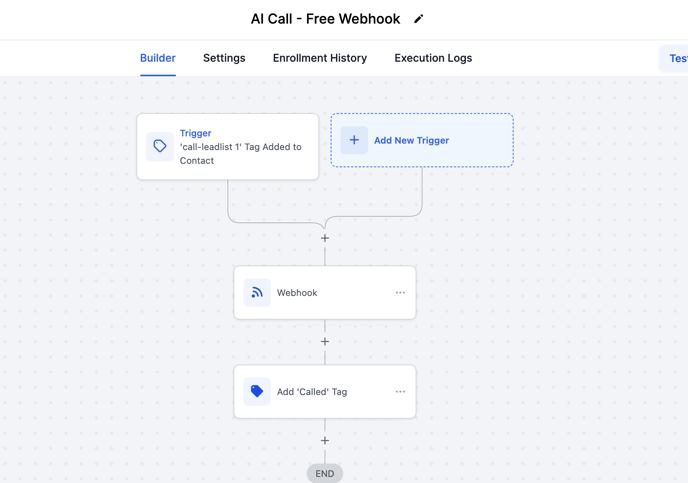
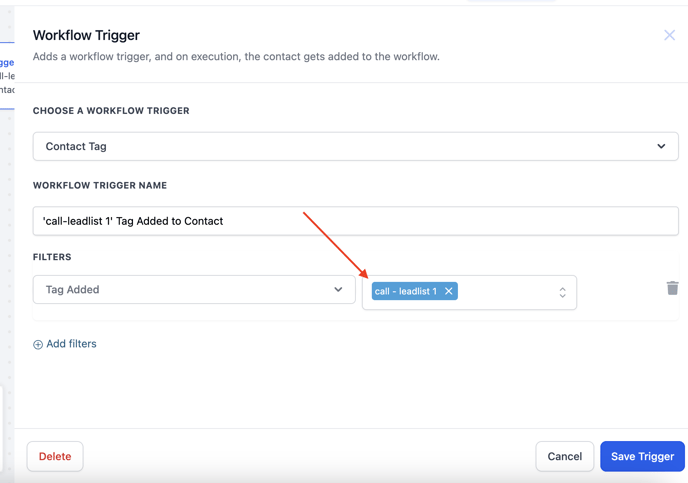
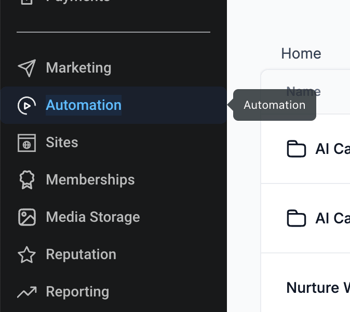
Make sure your GoHighLevel Trigger Tag is the exact same. You can check your workflows under the Automation tab of GoHighLevel.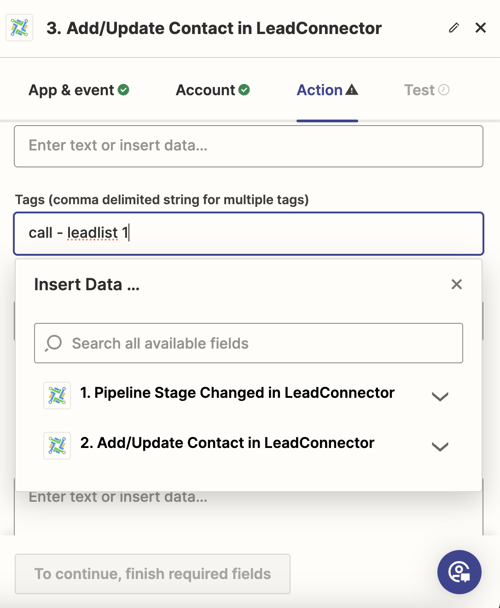
- Click on Continue
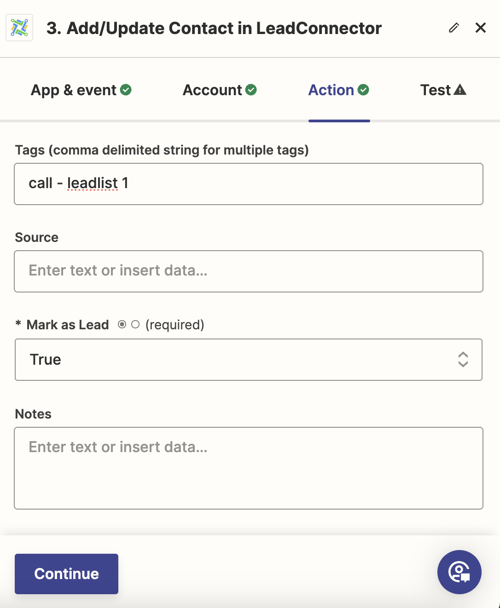
- Test the Step
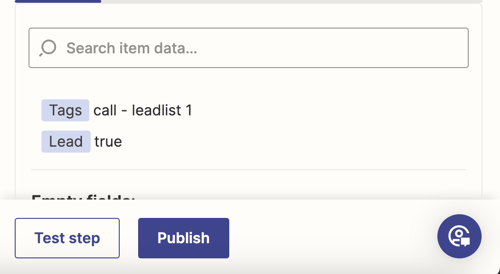
- Make sure to Name your Zap before Publishing!

Receiving Post Call Information from SalesAi Voice to your CRM
The next steps are to make sure that SalesAi Voice is properly sending information back to your CRM and updating your contacts with information such as Call transcripts, Call recordings, and more.
Creating the Zap Trigger
- Go to Zapier and click Create

- Click on Zaps

- Click on Trigger

- Select Webhook as the App

- Click on the Event field

- Select Catch Hook

- Click on Continue

- We don't need a child key, click Continue

- Click on Copy

Creating your Integration Workflow and Testing
- Go to the Automation tab of GoHighLevel
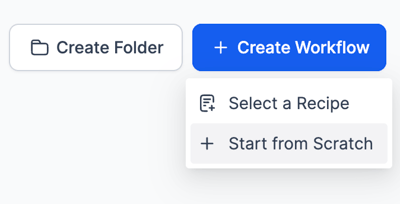
- Click on the blue Create Workflow button and select Start from Scratch
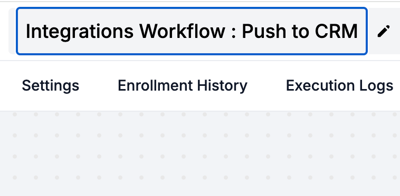
- Name your Workflow. A typical name could be "Integrations Workflow : Push to CRM"
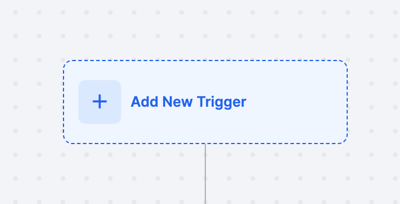
- Click on Add New Trigger
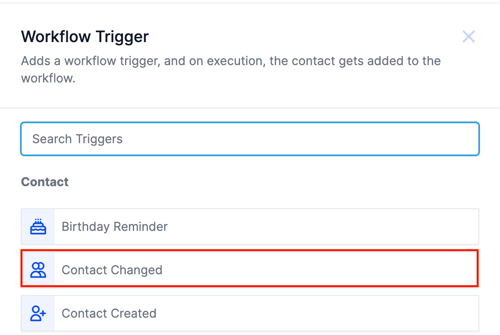
- Select Contact Changed
- Click on Add filters
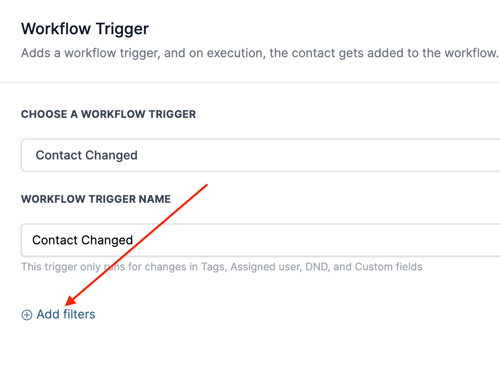
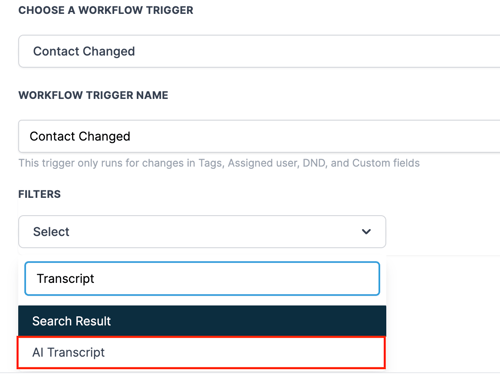
- Click Select. You will need to search for the AI Transcript and select that option.
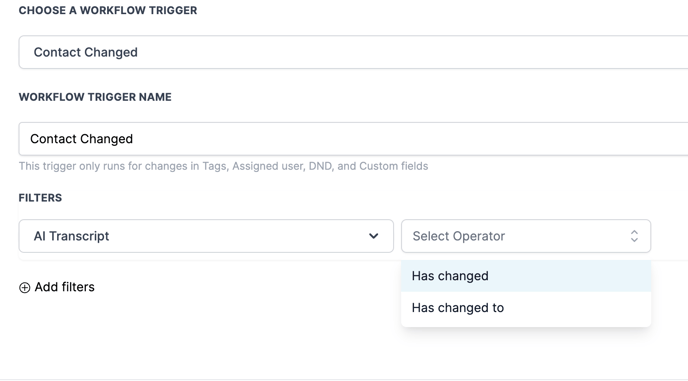
- Click on Select Operator to the right of that option. Select Has changed
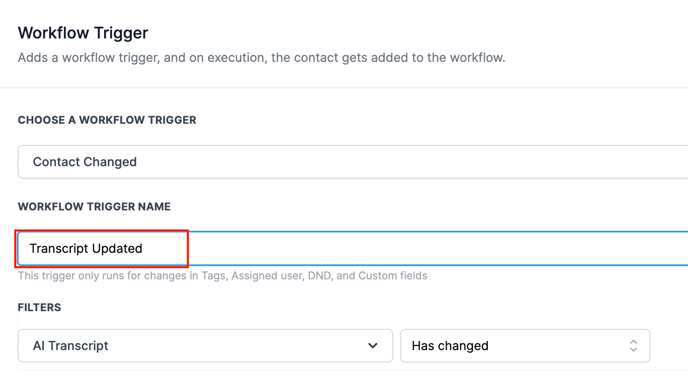
- You can change the Workflow Trigger Name to "Transcript Updated" to reflect what is occurring.
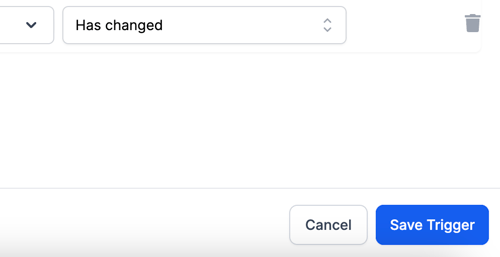
- Click on the blue Save Trigger button
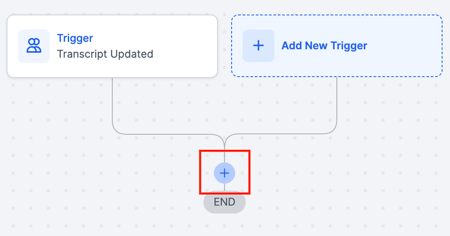
- We will now add a new Action. Click on the Plus Sign below the Trigger
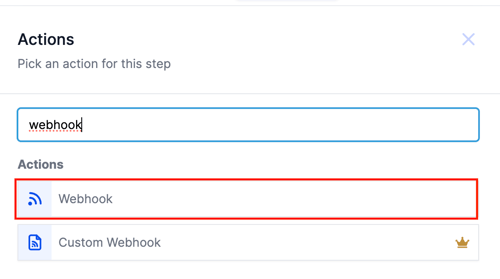
- We need to select the Webhook action
- Paste the Zapier Catch Hook Link into the URL field
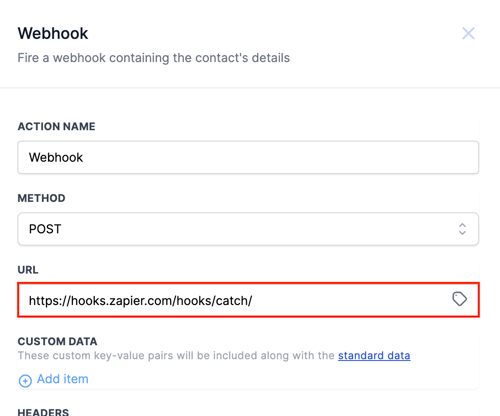
If you have Custom Fields in GoHighLevel, make sure to map them in the Custom Data portion of the webhook.
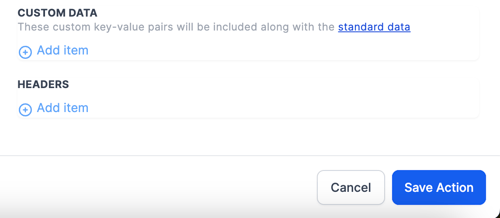
- Click on Save Action once you are done.
- Make sure you have an example contact to push over for testing purposes. You may create one if you don't have one from already testing your Agent.
Click on Test Workflow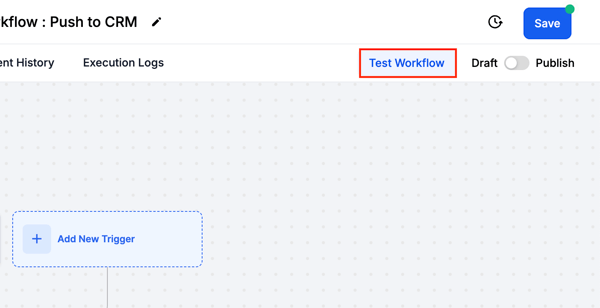
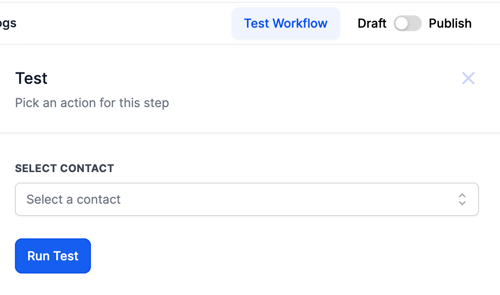
- Search for your Test Contact, then click Run Test.
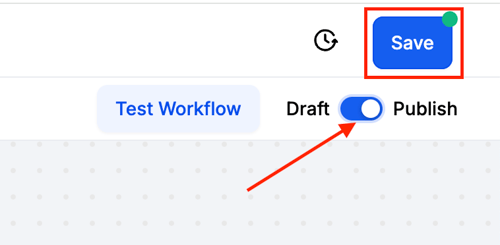
- Make sure to Save the Workflow and Publish it
- Go back into Zapier and click Test Trigger
- You should see a new record appear. If not, click the Find new records button.
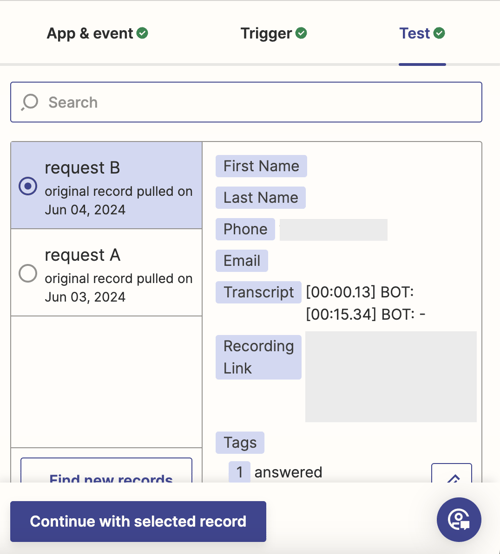
- Select the correct record and Click Continue with selected record. The correct record should have similar fields to the one listed in the screenshot above.
Creating the Zap Action
This article will use GoHighLevel as an example, however, these steps are not generally necessary for GHL as it has a direct integration. This will be necessary for any other CRMs or apps.
- Click on Action
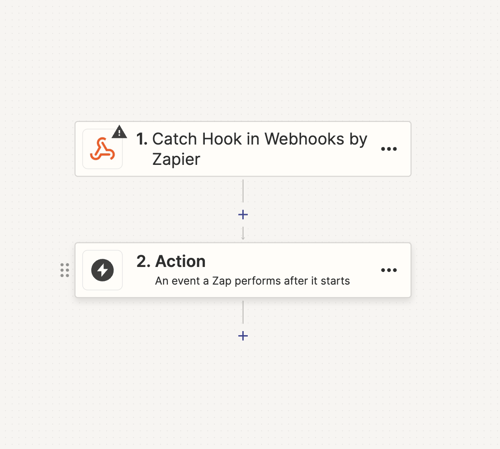
- Find the CRM/app you would like to connect to.
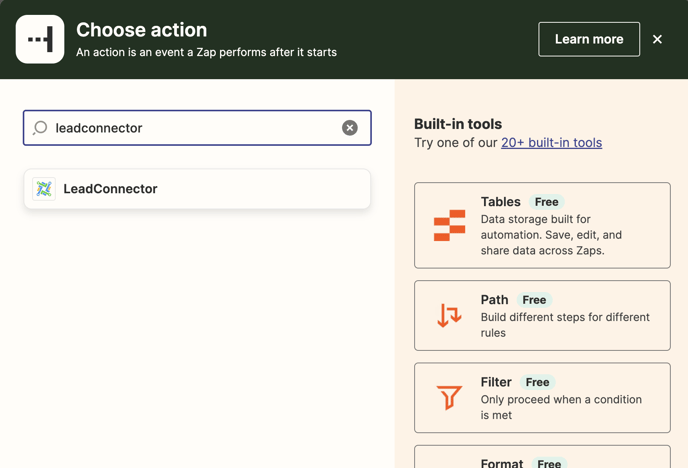
There is a chance that your CRM has a different backend name in Zapier. If it does not pull up, consider reaching out to Support for your CRM/app and ask how they integrate with Zapier.
- Click on Choose an Event and select an Event
This is what you want to happen with the information. For example, most CRMs will give you options like "Create/Update Contact" or "Enroll in Sequence."
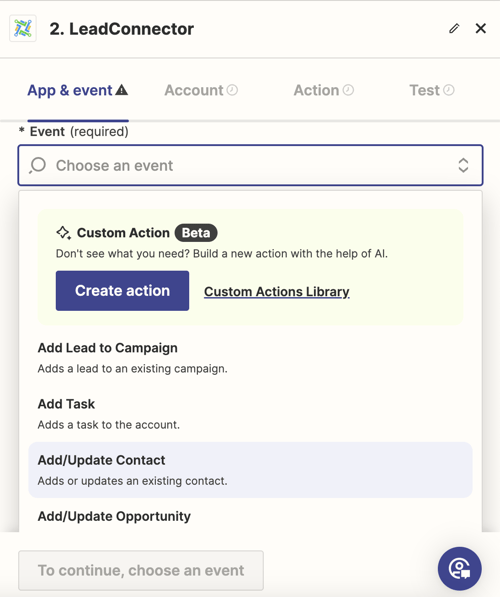
- Select your event
- Click on Continue
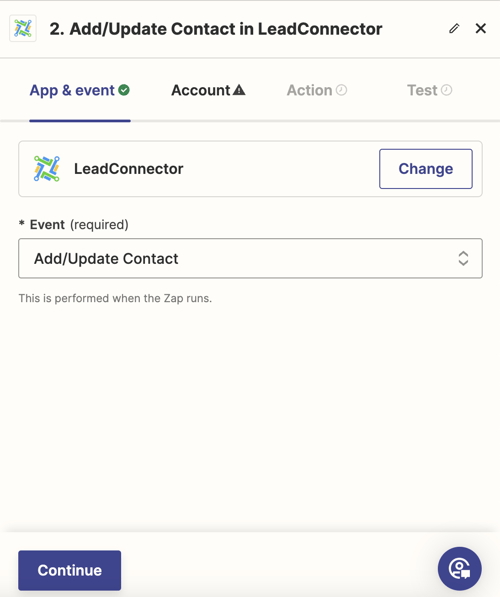
- Connect your account (This will usually be a sign-in, or it may ask for an API key from your CRM/app. If you're unsure where to locate this, reach out to the support for your app.)

- Click on Continue

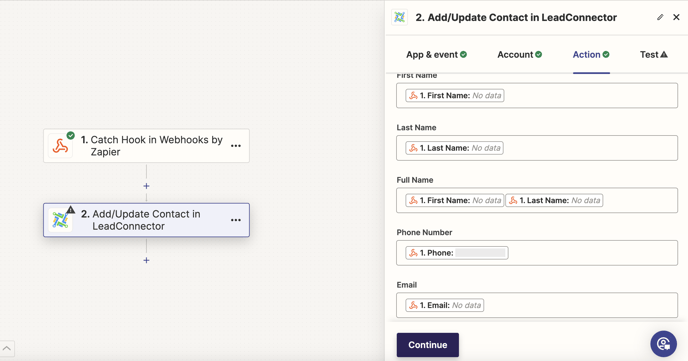
- Map out where you want the information and what specific data you want.
This section may vary depending on what app you use. For each section that you want data for, select the coordinating option for that field (e.g., "Job Title" -> "Position").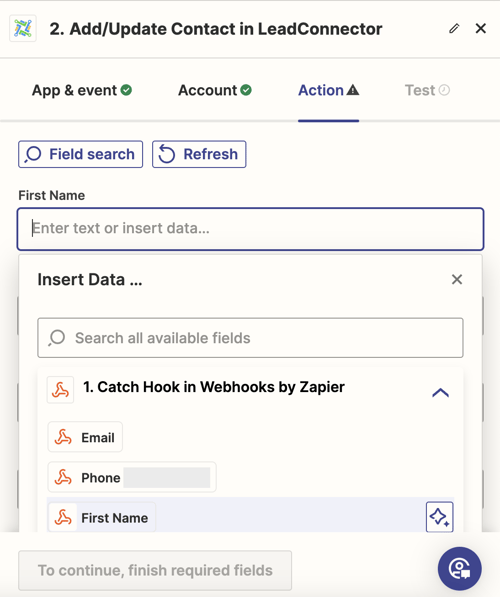
- Only the options populated in the drop-downs are available.
- Once everything is mapped out, click Continue
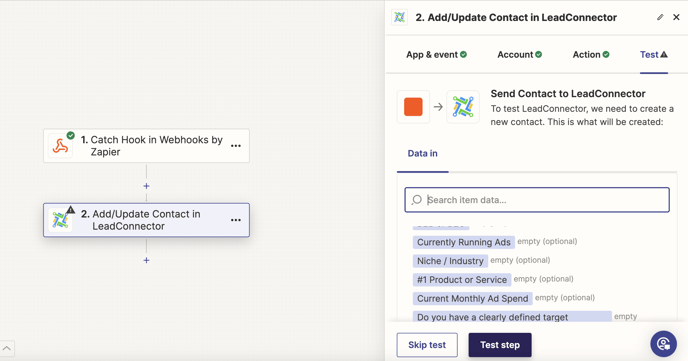
- Click on Test Step. Once the test is sent, ensure that the filler information was sent over to your CRM appropriately (e.g., see if a new contact was created).
- Make sure to Name your Zap before Publishing!
