The Advanced Recall workflow allows you to set strict guidelines for how many recalls are made.
Sections
Call Workflow Setup
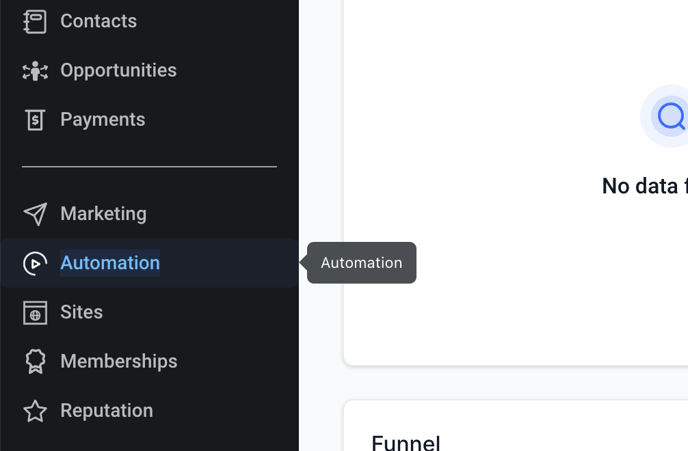
- Click on Automation on the left-hand menu
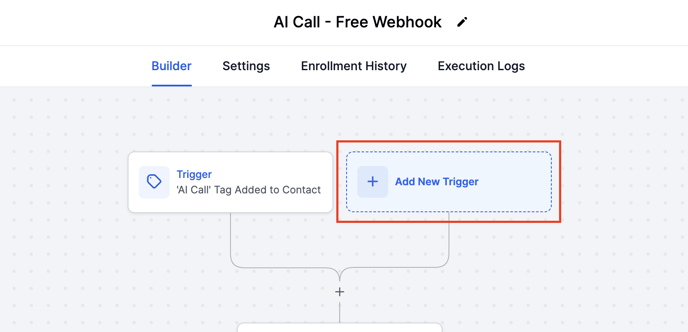
- Start by editing the workflow you already created in GoHighLevel. This is typically a duplicate of the AI Call - Free Webhook template

- Click on Add New Trigger
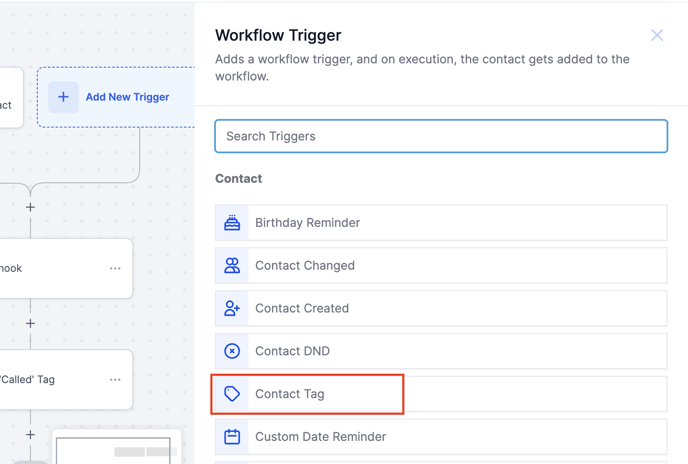
- Click on Contact Tag
- Rename the Workflow Trigger to "2nd Call - Sample CSV - Tag Added"
Instead of "Sample CSV," you'll include the name of your Smart/Lead list.
- Click on Add filters
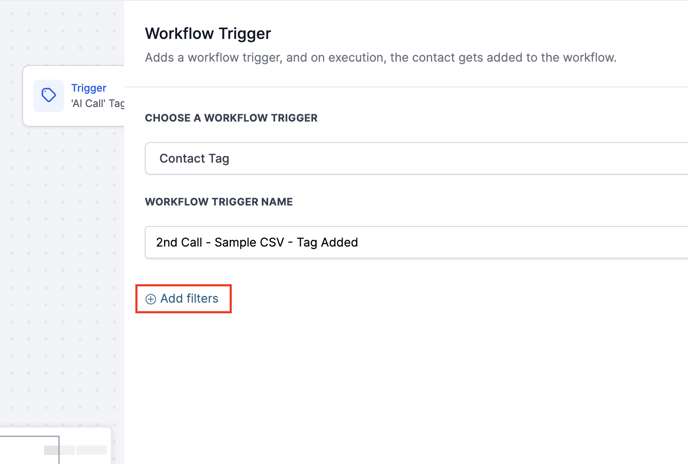
- Click on Select and choose Tag Added
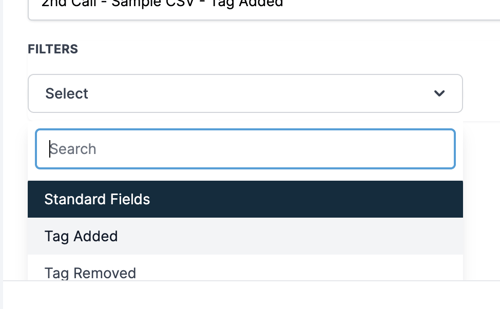
- Click on Select a tag and enter "2nd Call - Sample CSV"
Instead of "Sample CSV," you'll include the name of your Smart/Lead list.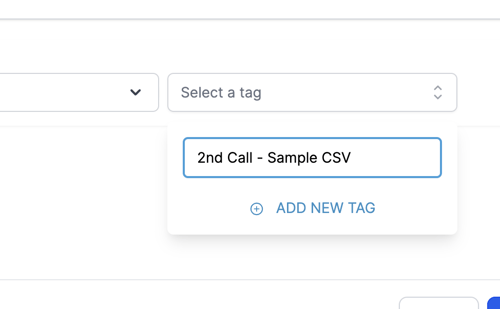
- Click ADD NEW TAG
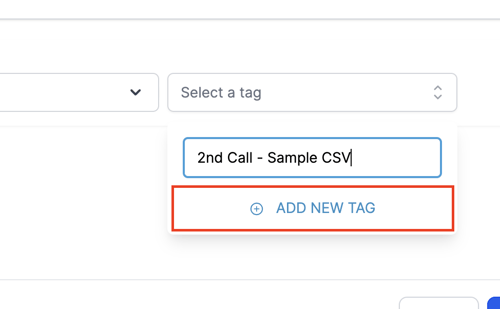
- Click on Save Trigger at the bottom-right
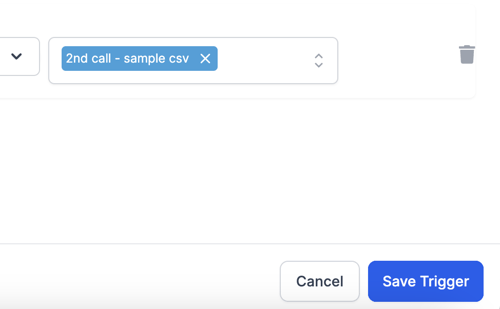
- Repeat the previous steps for an additional trigger- "3rd Call - Sample CSV"
This would prompt the Agent to call back two times if the prospect does not answer. If you'd like additional call attempts, add additional triggers.

Recall Workflow Setup
- Click on Create Workflow. Select Start from Scratch.
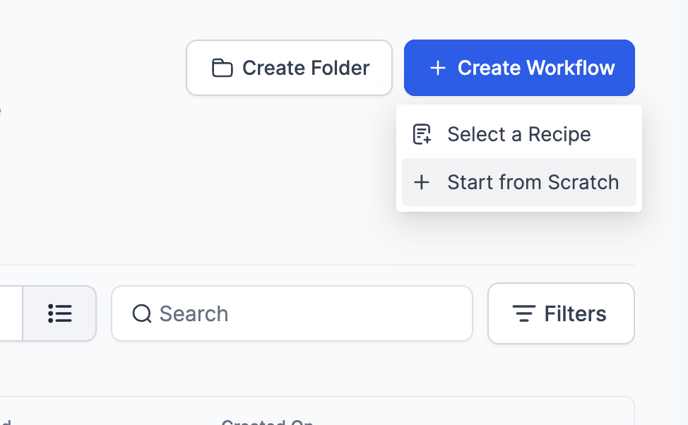
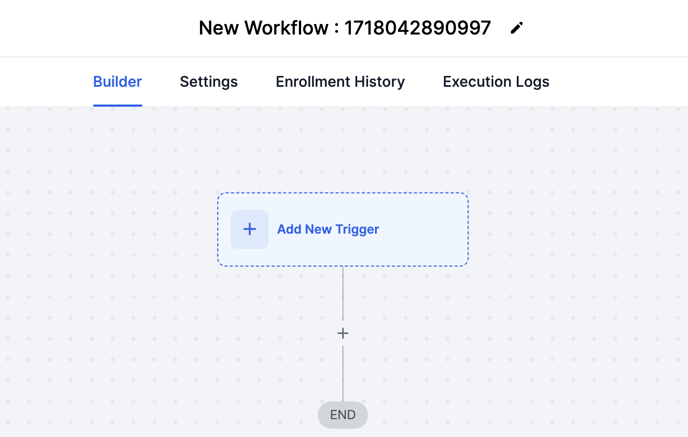
- Click on Add New Trigger
- Click on Contact Tag
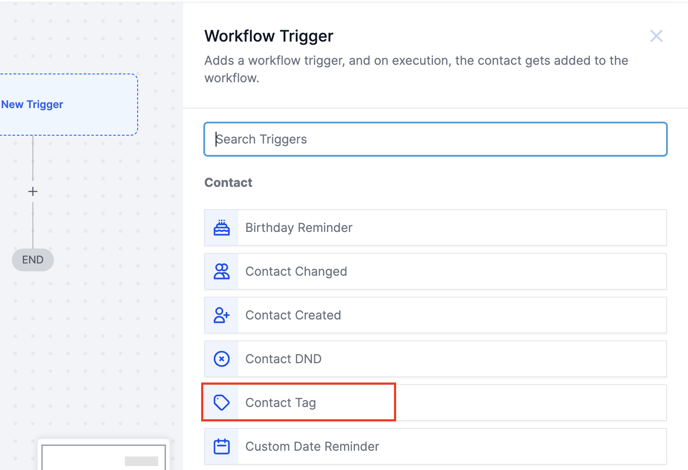
- Change the name of the Workflow Trigger to "DNA Tag Added"
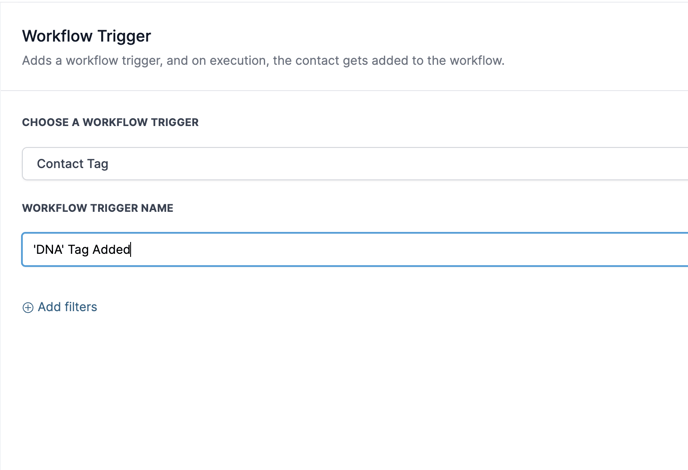
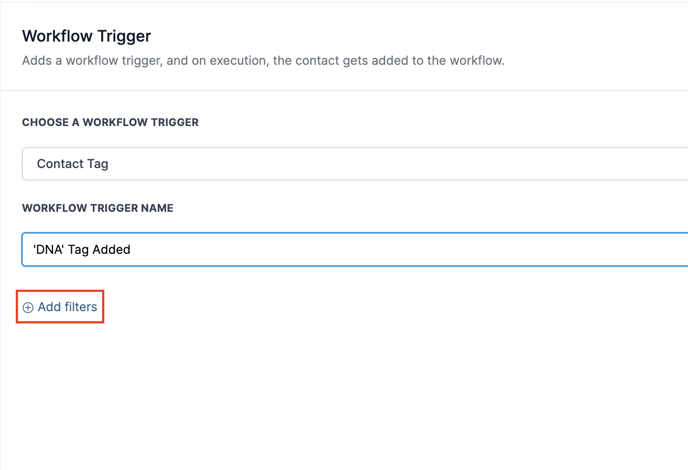
- Click on Add filters
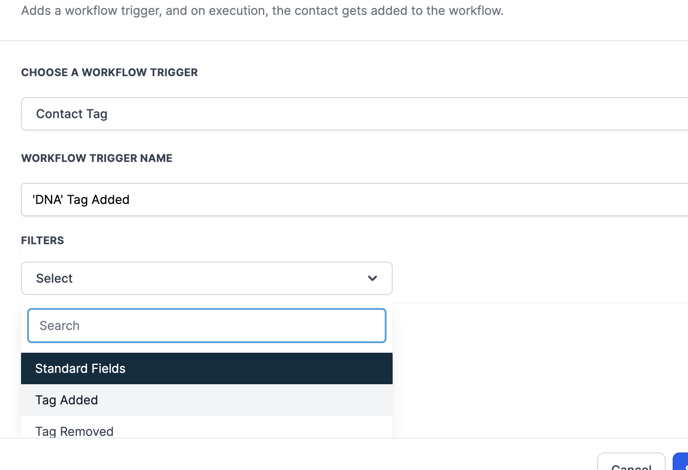
- Click on Select then choose Tag Added
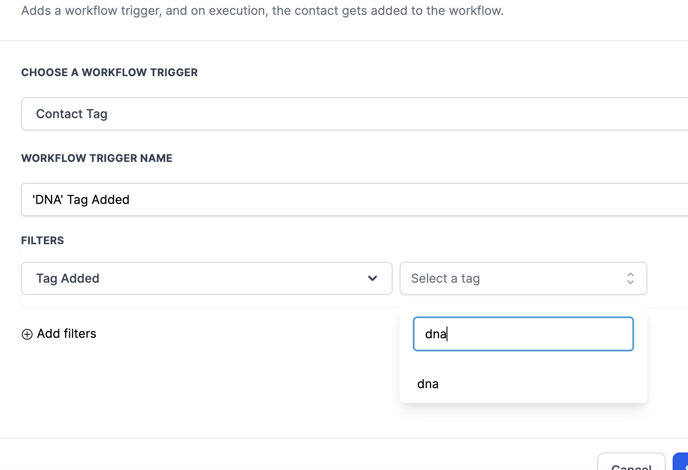
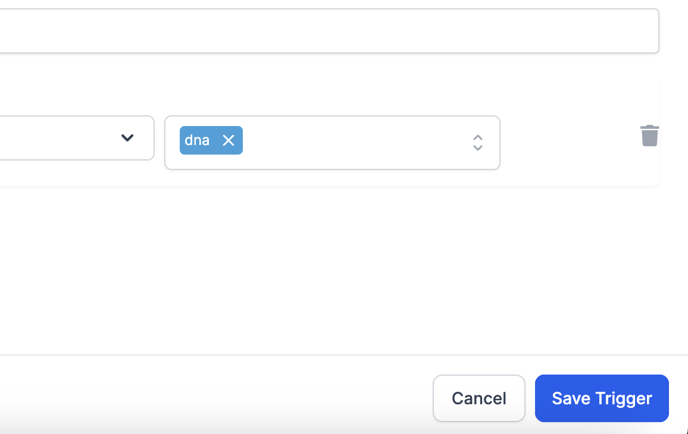
- Click on Select Tag then enter DNA
- Click on Save Trigger
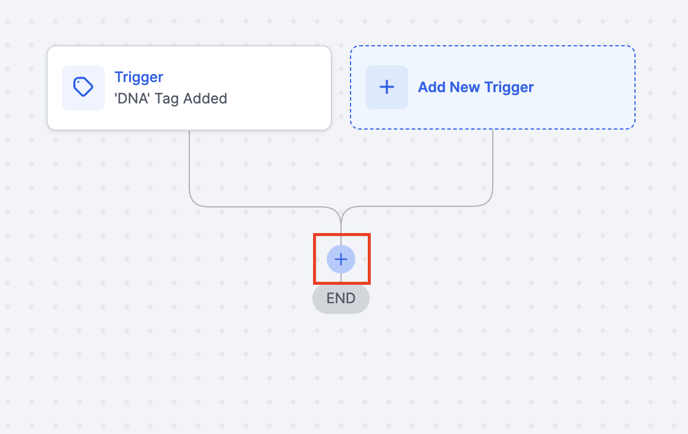
- Click on the Plus(+) under the Triggers to add a new Action
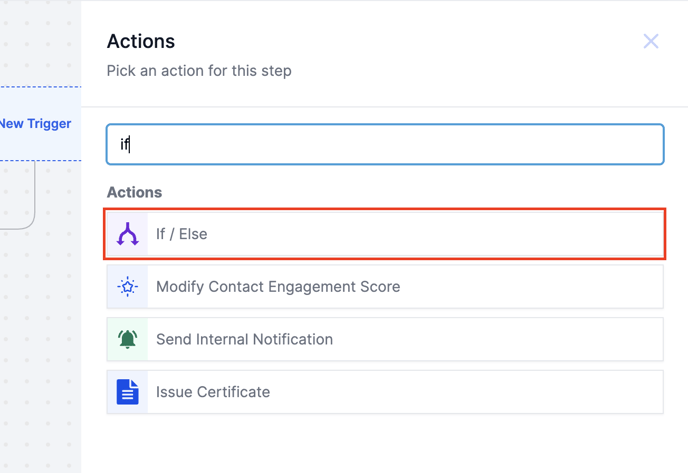
- Select the If/Else Action
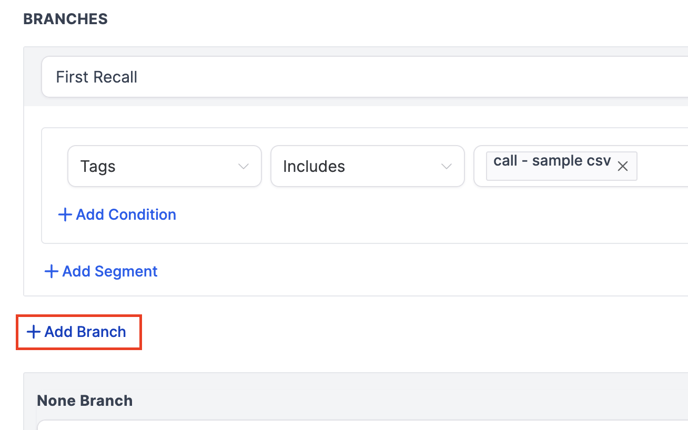
- Rename the first Branch to 'First Recall'
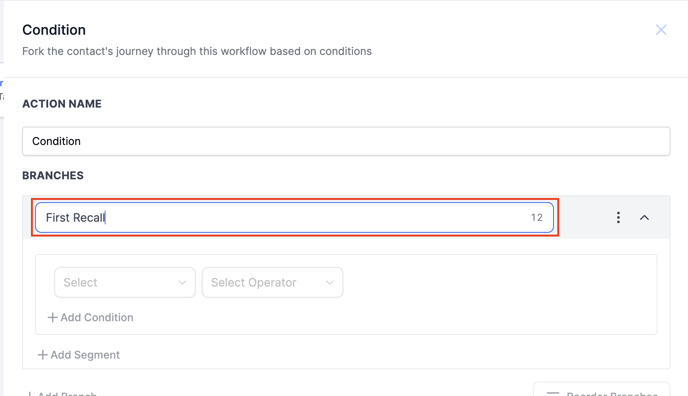
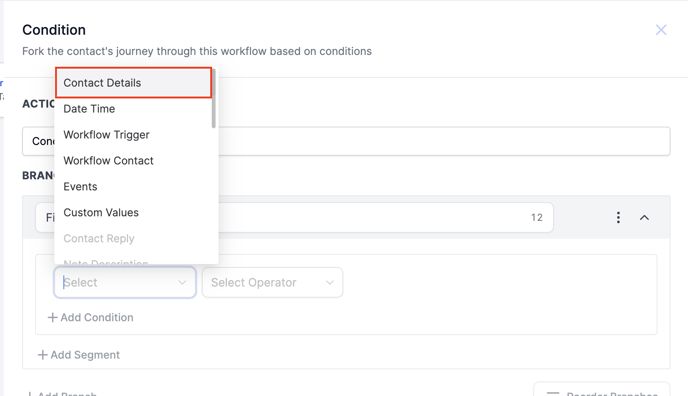
- Click on Select and choose Contact Details
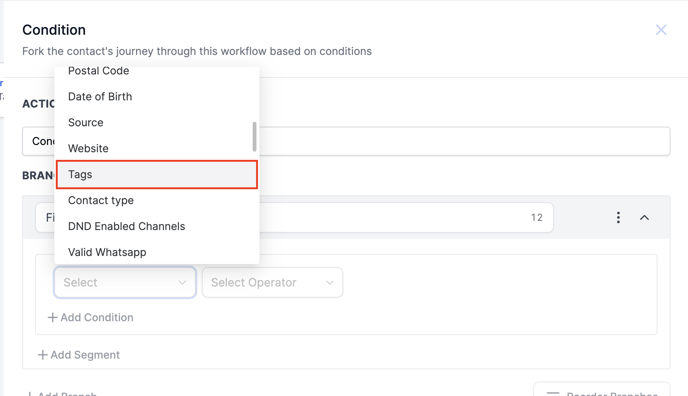
- Scroll until you find the Tags option. Select that option
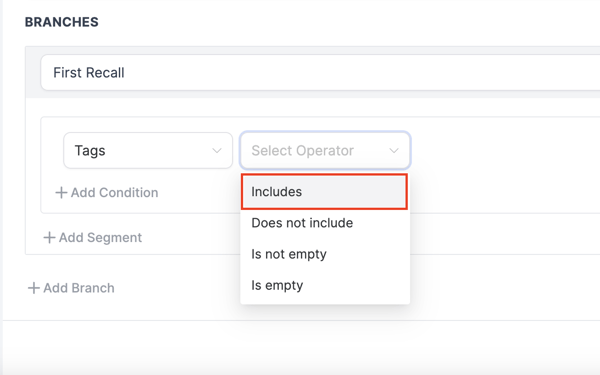
- Click on Select Operator. Then click on Includes
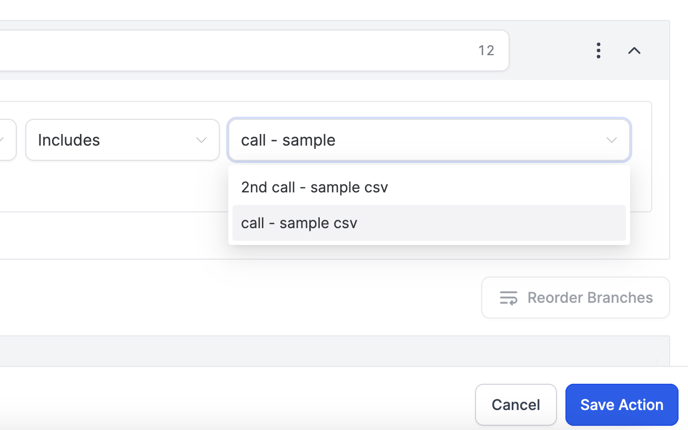
- Click on Select Tags and choose the trigger tag you used in your initial workflow. The initial tag in this example was "Call - Sample CSV".
- Click on Add Branch
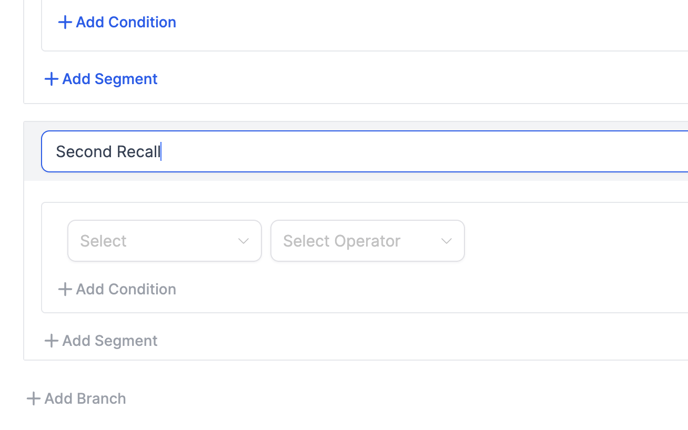
- Type Second Recall for the name
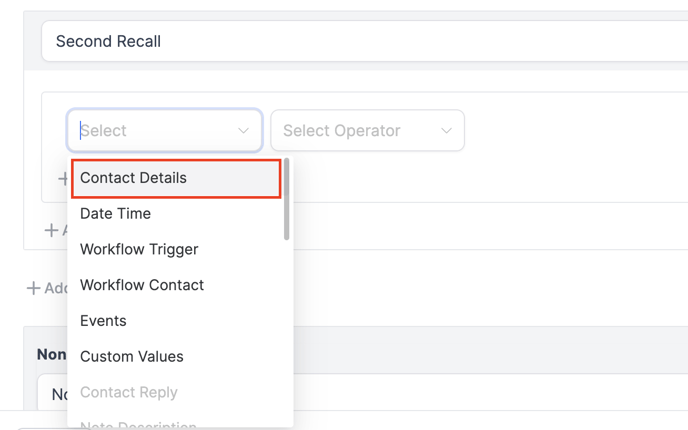
- Click on Select then choose Contact Details
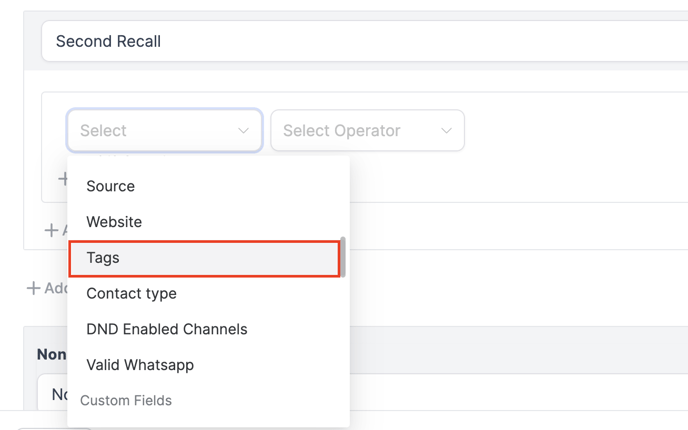
- Scroll until you find the Tags option. Select that option
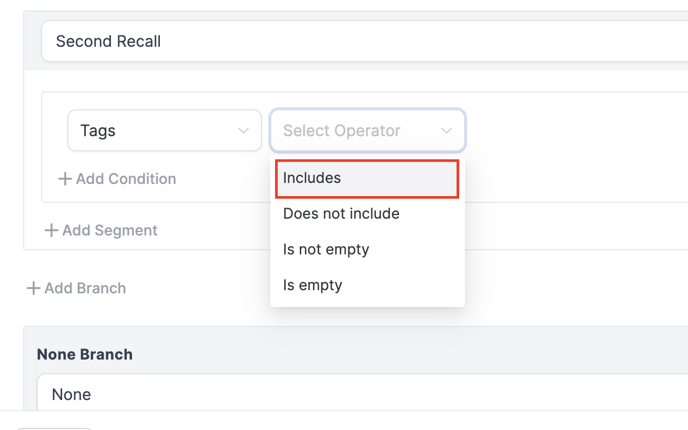
- Click on Select Operator. Choose Includes
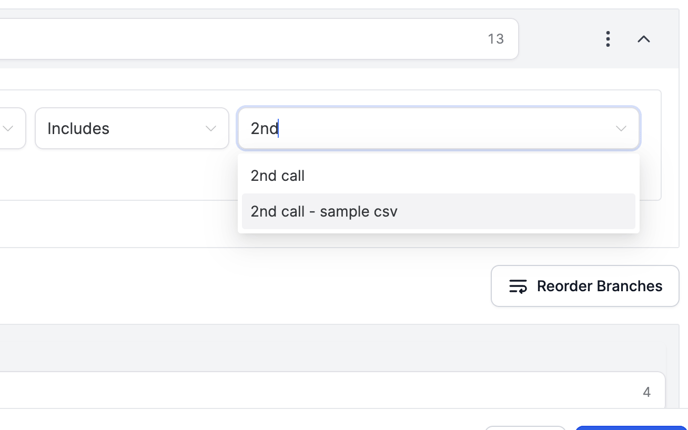
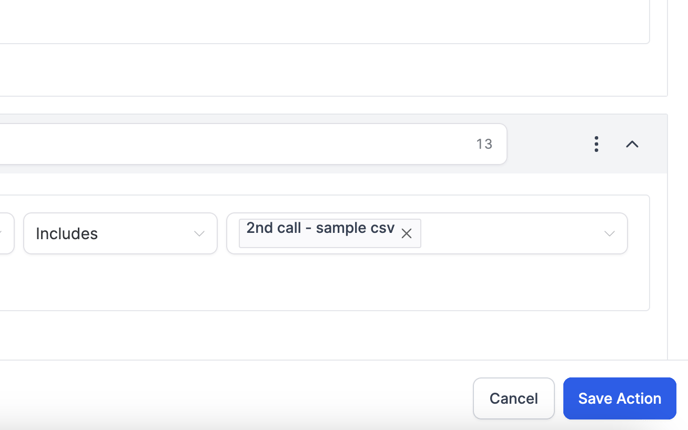
- Click on Select Tags and choose the tag that initiates the 2nd call. In this example, the tag was "2nd Call - Sample CSV
- Click on Save Action
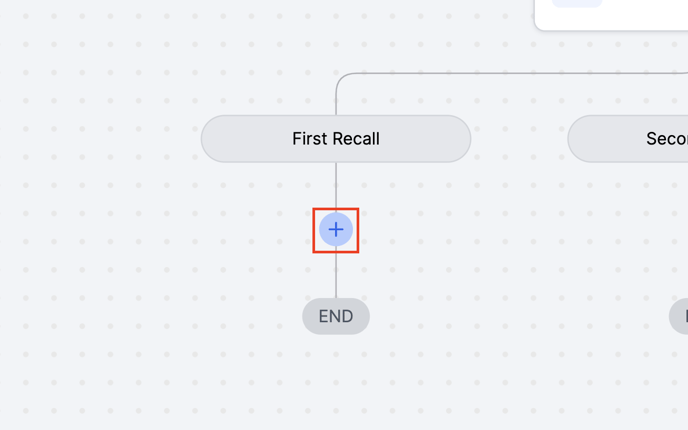
- Under the First Call branch, click the Plus(+) to Add an Action
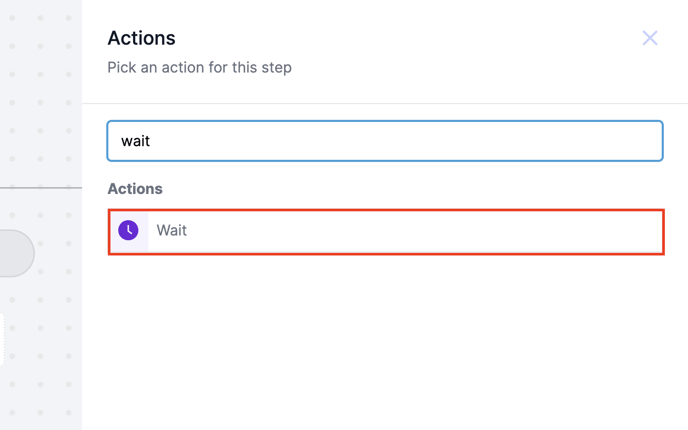
- Click on the Wait option. This is where you will set your time delay before the 2nd attempt.
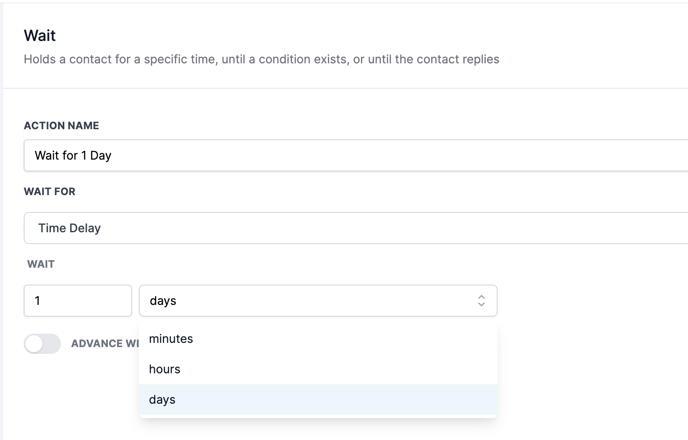
- Choose whatever delay you'd like. Rename the Action Name and adjust the wait time number and unit (minutes, hours, days). We will use 1 day delay for this example.
- Click on Save Action
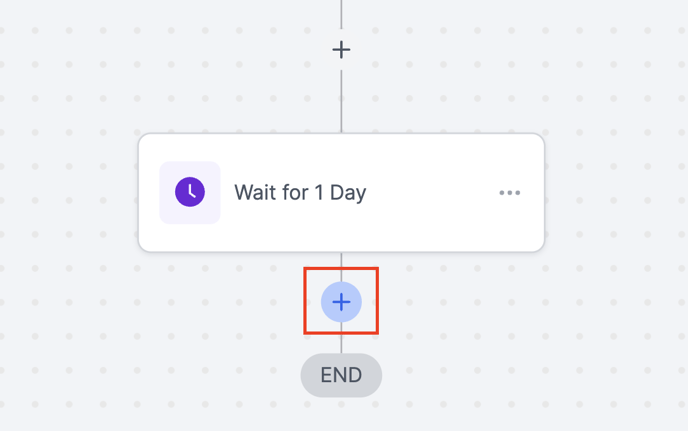
- Add an Action below the Wait action
- Select the Remove Contact Tag option
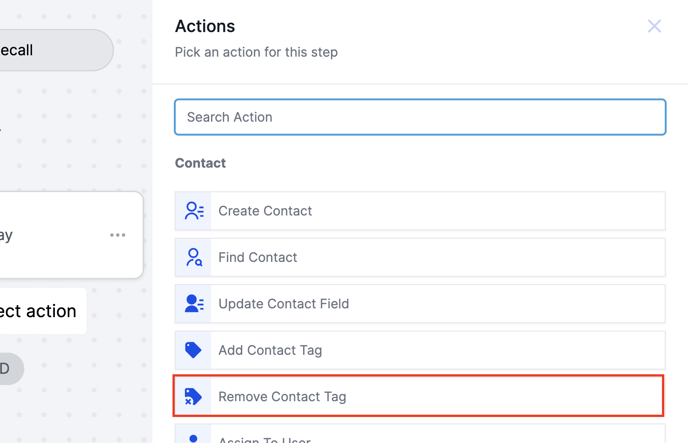
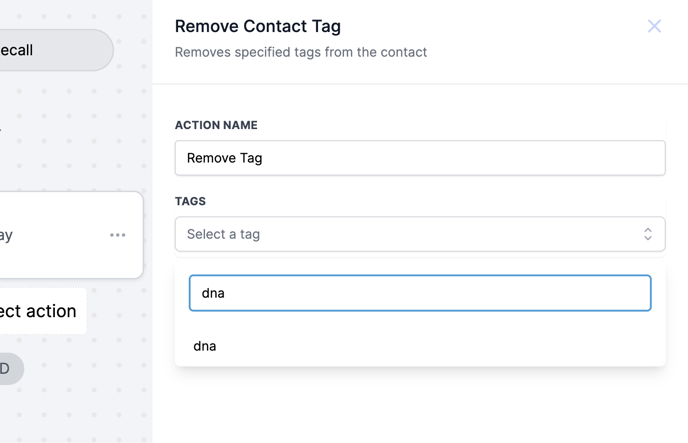
- Click on Select a tag and choose DNA
- Click Save Action
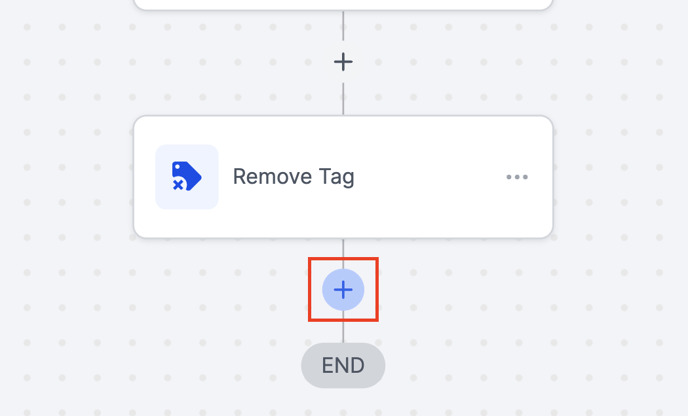
- Add an Action below the Remove Tag action
- Click on Remove Contact Tag
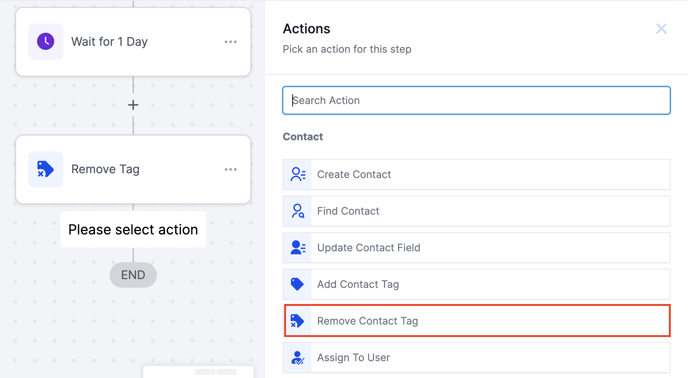
- Change the name to Remove "Call - Sample CSV" Tag. Replace the Call - Sample CSV part to the name of your Smart list/leads.
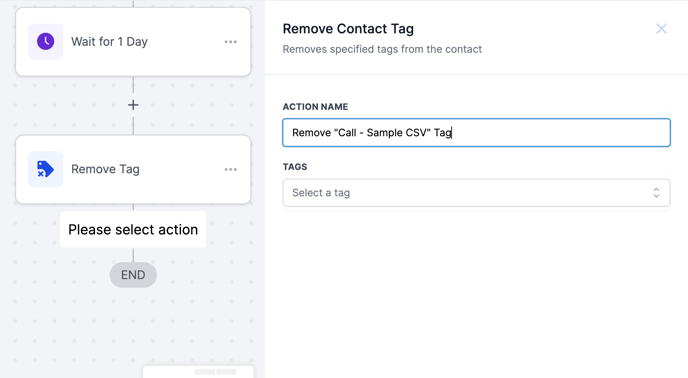
- Click on Select a Tag and choose your initial trigger tag.
This example uses "Call - Sample CSV".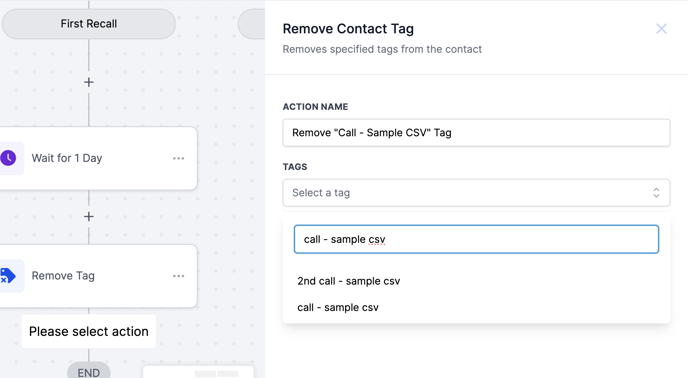
- Click Save Action

- Add another Action below the Remove Contact Tag action
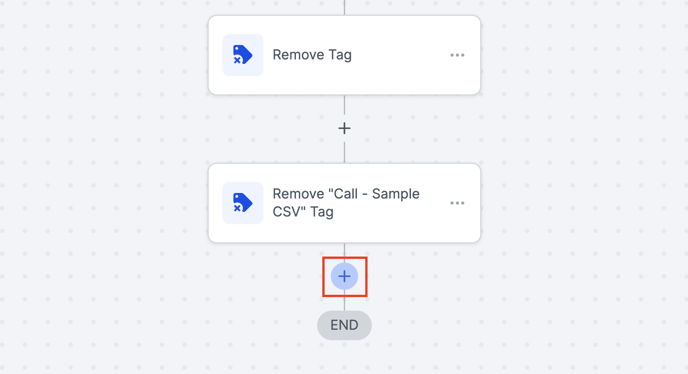
- Click on Add Contact Tag
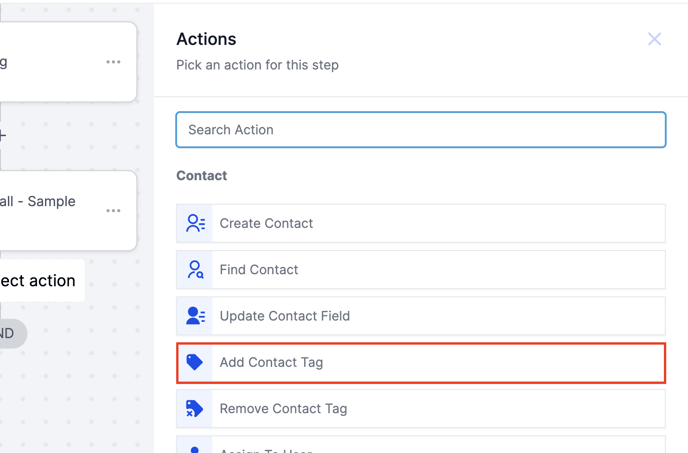
- Now you will add the second trigger tag. This will prompt the Agent to call a 2nd time.
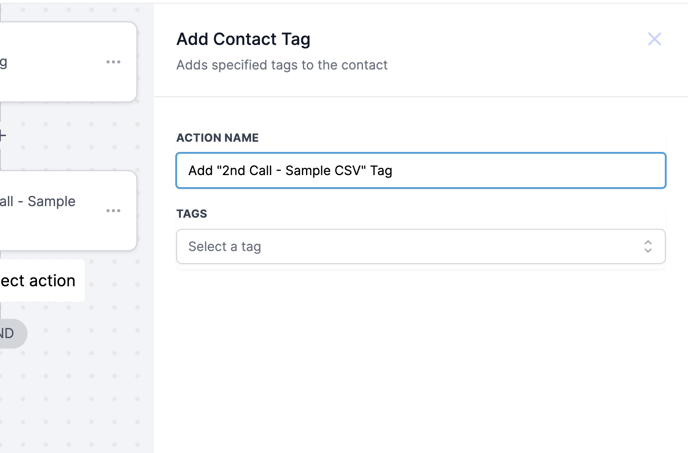
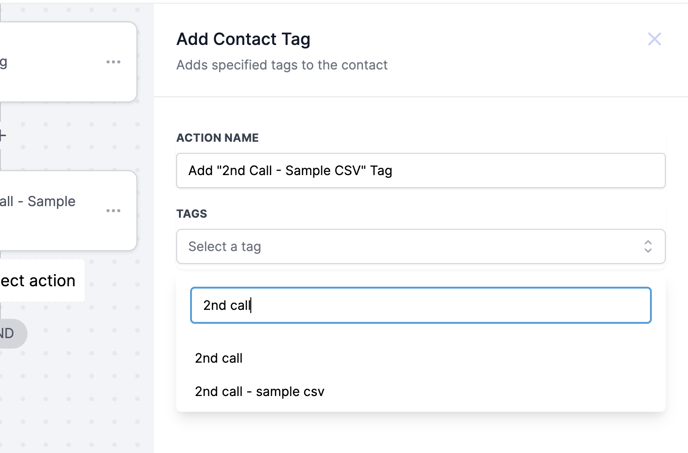
- Click on Select a tag and search for your tag. In this example it was 2nd Call - Sample CSV
- Click Save Action

- Repeat the Branch steps for the Second Recall branch.
- Your workflow should look like this at the end.

- Once completed, Publish and Save the workflow.
